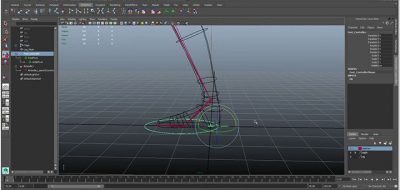
Jennifer Conley offers a look at adding toe lift functionality to an existing reverse foot rig set up in Maya. One that will “play nice” with the IK that is already driving the foot rig. This is actually an easy technique to pull off in Maya, duplicating the joint for the toe, and constraining it to the skinned joint in the rig for added functionality to what is existing. It is kind of the best of both worlds where you can easily add the new functionality without actually breaking what you have done previously in the rig.
Ever wonder how to get the fk functionality of a toe lift to play nicely with the ik limitations of a reverse foot setup? It’s actually a super simple and nifty trickJennifer Conley
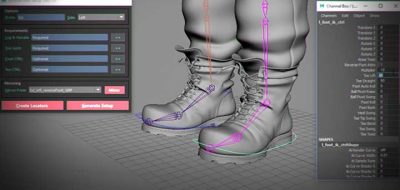
Then Jennifer shows how to incorporate the new joint into the rig. This is done easily by setting a Set Driven Key for the toe lift, and associating that with the new control in the channel box.
Jennifer is an instructor, and the creator of the RigBox Reborn Rigging Scripts for Autodesk Maya. Check out some of the previous posts for more information on RigBox.
RigBox Reborn Suite of Rigging Tools for Maya Sees Rigging Tool Addition
RigBox Reborn Rigging Tools for Maya Adds New IK FK Switch Tool
Rigbox Reborn Rigging Tools For Maya Sees New Mesh Tool Addition