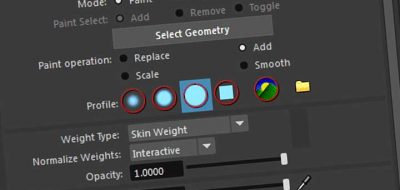
Painting weights for a face rig in Maya can be a little tricky, depending on the rig. If your rig has a lot of face joints, it can be difficult to navigate and paint weights for them.
This is especially true for face rigs, as they will have multiple joints shooting out from the same parent. This can make it difficult to know what is what, and what you are painting. Joint-based face rigs can look really cluttered with all the joints that need to be there. This can be an issue to weight.
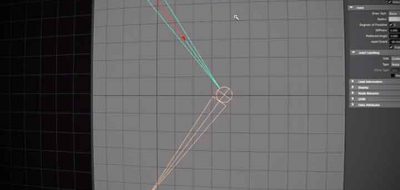
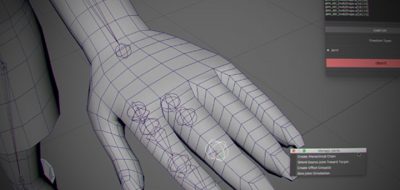
The Rigging Dojo posts a quick tip that can make all that a little easier. In Maya you can set the joint display to have joints look like something else other than a joint. One of the option is to have the the joints display set to “none”. This will leave the last joint in the chain visible, but will get rid of the “bone” display for that joint.
Seems like a simple thing but some people might not know that you can change the joint display in Maya, while others know about it, but never use it.