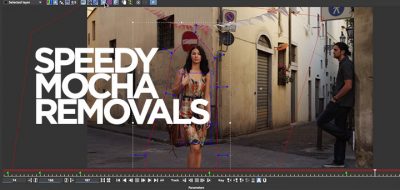
Mocha Pro has a few bells and whistles that bundled versions don’t offer. One of them is the remove module, a tool that lets you easily set up the standard VFX work of removing elements from a shot.
The Remove Module works by using a track and a clean plate. Mocha will replace areas of a matte with parts drawn from the clean plate. It is a simple process to set up, you just need to be aware of your layer order within the project.
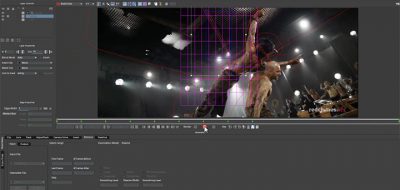
If you have used mocha’s remove module before, on some shots you have likely asked yourself, “Does this need to be done here, or can I do this another way?” That is because the remove section within mocha can be pretty taxing on the computer and on your time. The more complex the shot and settings the longer it takes. On a shot that is a few frames long, you might deem it negligible. On a shot that is a few hundred frames, (and depending on the area being removed) and you might be waiting a long time.
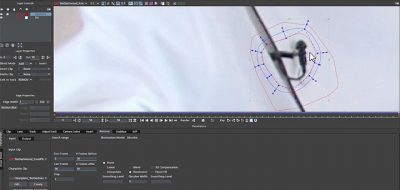
There are ways to optimize the process to ensure that you are doing the fastest possible remove. There are actually 6 different areas where you can make changes to optimize the remove process. Tweaking proxies and pre-caching, setting a project frame range, setting the number of before and after frames, step values, illumination settings, and clean plate setting can all help.
Mocha Product Manager Martin Brennand walks through all of them in this tutorial, that should help you improve your render times the next time you are doing a remove.