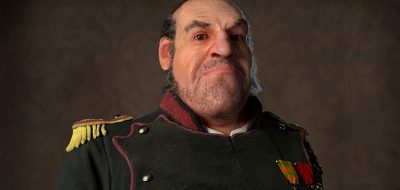
David Vercher shows how to create blendshapes for animated wrinkles for a character in Maya.
Blendshapes in Maya is a great way to morph from one shape to another and with the new Shapes Editor, a much better workflow for creating facial expressions. Have a look at this tutorial from David Vercher who shows how to get another level of realism to your characters by adding details like facial lines and wrinkles. It’s possible to connect and set up a system in Maya to create animated wrinkles.
The premise is having Maya blend between two or more displacement or normal maps. Over the years the topic of animated wrinkles gets revisited once and a while. One time 3D Artist Ann Uzhovska’s tutorial showed how to create a dynamic normal map setup that can automatically react to a character rig.
Even further back, SoukiZERO, a Character TD supervisor at Motion Magic demonstrated a similar technique while covering how to create a FACS-based facial rig. The rig included wrinkles that use a custom DX11 shader driving several normal maps and displacement maps with masks.


