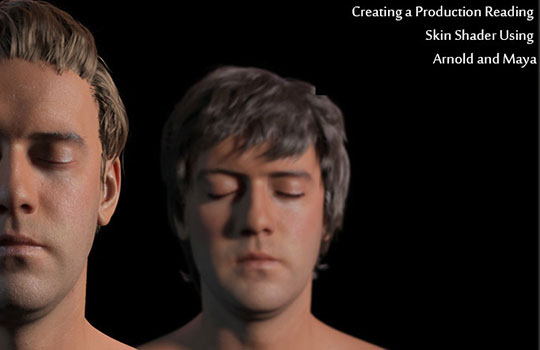
An in-depth look at using Maya and the Arnold Renderer to create a production-ready skin shader from Saber Jlassi.
Saber has created a three part look providing some useful insights in an introduction with a brief definition of Sub Surface Scattering and how light affects the skin in real life, breaking down the layers of human skin and setting Arnold SSS settings accordingly to create a base look with a basic Maya shader set up.
…a tutorial on creating a human skin shader, using arnold and maya. Also covering in depth how to make use of the Maya asset to create custom UI…
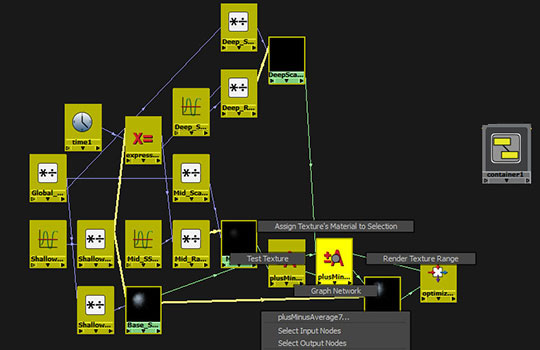
The tutorial continues where Saber shows some techniques for building upon the base shader set up by layering multiple SSS shaders together combining BRDF’s for Diffuse, Secondary Specular, and Deep SSS.
The third and final part to the tutorial is gold- where he shows creating and editing a Maya Asset Template with a custom interface for the asset’s SSS controls. Essentially this is the part where the “production ready” moniker comes in by creating a custom User Interface and exporting all the relevant attributes that will drive the look of the final shader.


