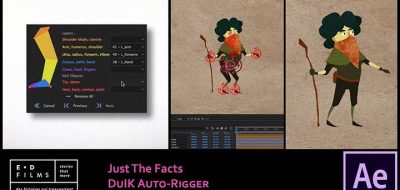
2D Character Animation in After Effects is kludge at best. Thankfully things like DUIK exist that will make you life so much easier. You may already be using DUIK for animation and rigging tasks, but did you know that you can use it to create a head turn for your character too?
Freelance animator and motion graphics artist James Hazael shows how you can create an advanced DUIK head turn.
Actually, this technique was from a french tutorial that was presented by Drouin Cyril (Mysteropodes), and translated into english by James.
Creating a DUIK head turn is actually a bit of an optical illusion, where simply moving the features of the face will look like a turn of the head.
The trick is how to make it all work effectively. This is where DUIK’s Morpher effect comes into play.
The Morpher will let you easily redo the animated interpolations between keyframes of masks .
James Hazael lists the steps to creating a DUIK head turn rig:
- Create a control area in the center of the comp with guides (01:06)
- Create a controller (01:49)
- Link the controller’s x and y position to two expression sliders which have a value of 0 to 50 assigned to them based on the position of controller within the control area. (02:05)
- Create shape layer artwork and nest it inside two groups, x and y. (04:02)
- Trim the work area from frame 0 to 50 or 2 seconds at 25 fps. This is important for the morpher effect to work. (04:53)
- Animate the controller along the x axis and do the same with the x group. (05:12)
- Apply the morpher effect from DUIK to the x group animation. (06:32)
- Repeat steps 6 and 7 but for the y axis. (07:22)


