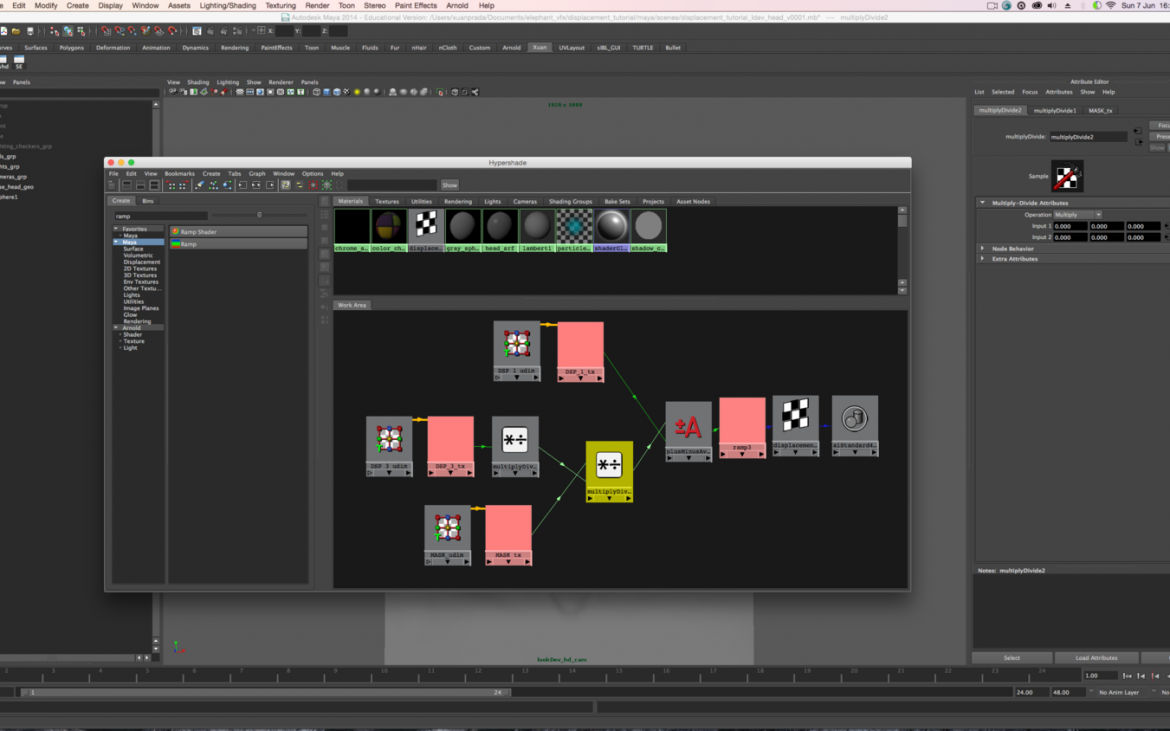
Visual Effects Artist Xuan Prada demonstrates his technique for working with both ZBrush and Mari, extracting and combining displacement maps from both the applications.
[pullquote]using Maya and Arnold for this demo but any 3D software and renderer is welcome to use the same workflow.[/pullquote]Being that both Mari and ZBrush are commonly used by texture artists these days, combining displacement maps in a look dev pipeline may be required.
Here, Xuan walks through combining displacement maps from Zbrush and Mari for use in Autodesk Maya using Arnold for rendering. Xuan notes that the technique can carry over to any 3D software and renderer with the same workflow.
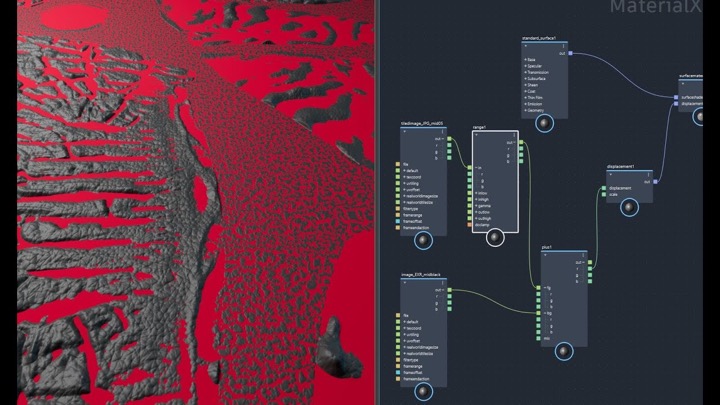
[well]Check out the tutorial for Combining Displacement Maps from Mari & ZBrush (in english) over at Xuan Prada’s blog.[/well]The two displacement maps will be quite different from each other. So for the look dev texturing workflow to work requires normalizing the ranges between the two maps.
Using the same range the maps from Mari would appear much more aggressive than the ZBrush displacement. Using a multiply node in Maya is an easy to control the strength of the Mari displacement.
