Ian Waters one of the driving forces behind the MASH suite of motion graphics Nodes for Maya, posts a little tool for creating a simple Rim Light Setup in Maya. In actuality, this is a recent update to his AddRimLight Python script for Maya, which adds some defaults to the tool.
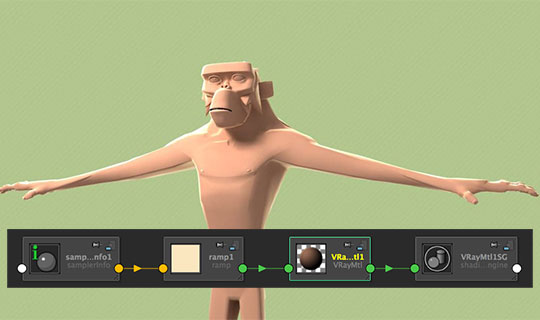
The only clever thing we’re doing here is adding a sampler info node and using it to power a ramp based on the angle between the camera and the object. The more acute the angle, the more the bottom colours on the ramp will be used
The AddRimLight script will cheat a rim light by affecting the material itself, not unusual, however very handy to have a quick set up for this type of thing instead of continually connecting the same nodes over and over. Simply select a material, and then call the command in the Maya script editor, the script will set up a ramp and sample info node and connect everything together. Ian notes that if you select a material node, a ramp is added to its Color Channel (and defaults are automatically set), if you select a texture node, the ramp is added to the Color Offset attribute – defaults are also created for this mode, but they will amost certainly need tweaking. Check out the post for Ian Water’s Rim Lighting Cheat tool AddRimLight for Maya here.