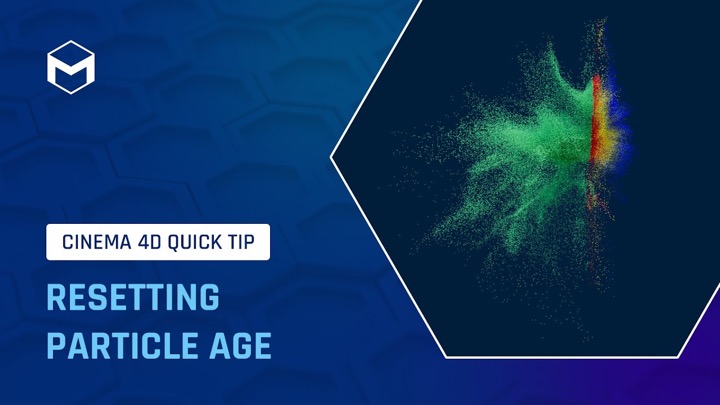
3DBonfire explores creating various looks for the same particle animation in Cinema 4D with quick particle shading tips.
Particle animations can look quite different depending on how you render the particles. Here, 3DBonfire (Markus Gonser) works with particles in Cinema 4D to create various looks by quickly changing how they render.
Markus Gonser, the mastermind behind 3DBonfire, introduces practical methods for creating unique particle animations. These include rendering particles as spheres, using custom objects as particles, and color mapping, which you can apply to your projects.
The tutorial shows how to add a Render Tag to the particle group to render particles as spheres. Then, choose either sphere instances or optimized spheres. You can apply a redshift material to the particles, and you can adjust their size by changing the scale multiplier.
Render Tags
Using custom objects as particles is as simple as dropping a Render Tag on a custom object and putting the object into the particles.
Color Mapping
Using custom color remapping, Gonser uses a color mapping effector for the simulation. This way, the particles change color based on their velocity. A redshift material is applied to the particle group, and a color user data node connects the particle color to the material. The color data can further be adjusted through a color corrector or ramp.
C4D’s New Particles
Cinema 4D’s updated particle system, now seamlessly integrated into the unified simulation environment and GPU-accelerated, empowers users like 3DBonfire to effortlessly create stunning effects such as waterfall particles, pyro, and advection.


