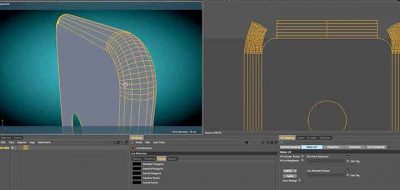
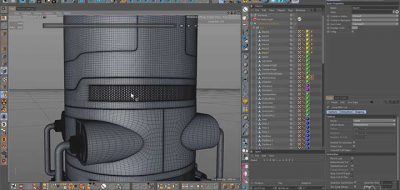
UV mapping, pinning, unwrapping and layout is an important step in the production pipeline. Yet many Cinema 4D users seem to avoid this step altogether. Others don’t know how enough about it to get a proper UV unwrapping and layout. Cinema 4D is so intuitive to use, you can probably get away with never UV’ing a thing in your life. That doesn’t mean that you don’t have to understand how and why UV layouts are needed.
Even when you think you understand how to unwrap and layout objects, new situations bring new challenges and new hurdles to overcome. UV unwrapping is not a one-size-fits-all workflow. In fact, it can be the exact opposite of that. So how do you figure out what gets cut, what gets flattened, and what gets pinned in the process? How do you know if a particular unwrapping will work for the end result of your model, scene or render? These are questions that plague people starting their 3D journey, and might include some who have a good grasp on every other part of the 3D workflow.
A new post from Uber Eck Animation Studio is a great how to guide for unwrapping UV’s in C4D. The tutorial answers all those questions, and more. It’s a nice concise walkthrough, that even looks into which styles will work best for which texture workflows. For example, what unwrapping style works best with Substance Painter, or Sub-D surfaces in C4D, or Body Paint?
This can even be a great refresher for intermediate users too!
