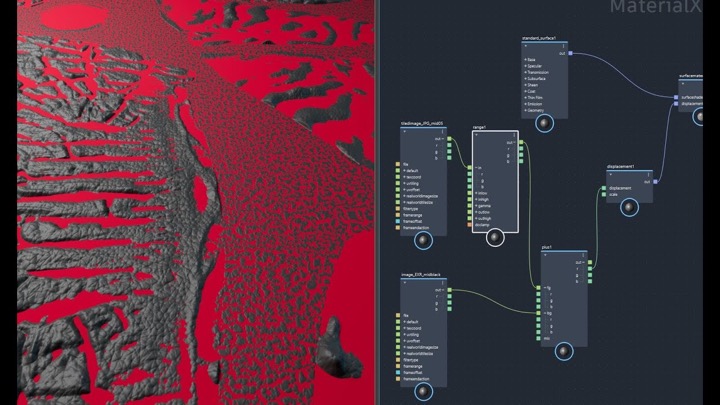
Zeno Pilgrims shows a technique that can be used to quickly retopologize dense and complex geometry in Autodesk Maya. The process requires transferring the object’s UV’s to geometry, right in world-space.
[pullquote]Quick technical modeling tutorial on my favourite way to create usable topology for animation from marvelous garments.[/pullquote]This will allow you to retopologize, on an easy, flat surface, taking the guesswork out of figuring out edges and loops on a true 3D form.
As Zeno notes, this is a great thing to do on complex objects, such as those out of Marvelous Designer.
Once the retopologize process is complete, you can then use a wrap deformer and a blend shape, to knock it back into its original 3D form.
There are a few unique tools needed to pull something like this off. The first are the SOuP nodes for Maya, specifically the mapToMesh node.
SOuP’s mapToMesh and meshToMap nodes can convert the Uv’s into a mesh, and back again.
You will have to reorder the mesh’s vertices so that they match, and that is where the second unique tool comes in. PickWalker for Maya will allow you to easily transfer vertex positions between two meshes without the same vertex order.


